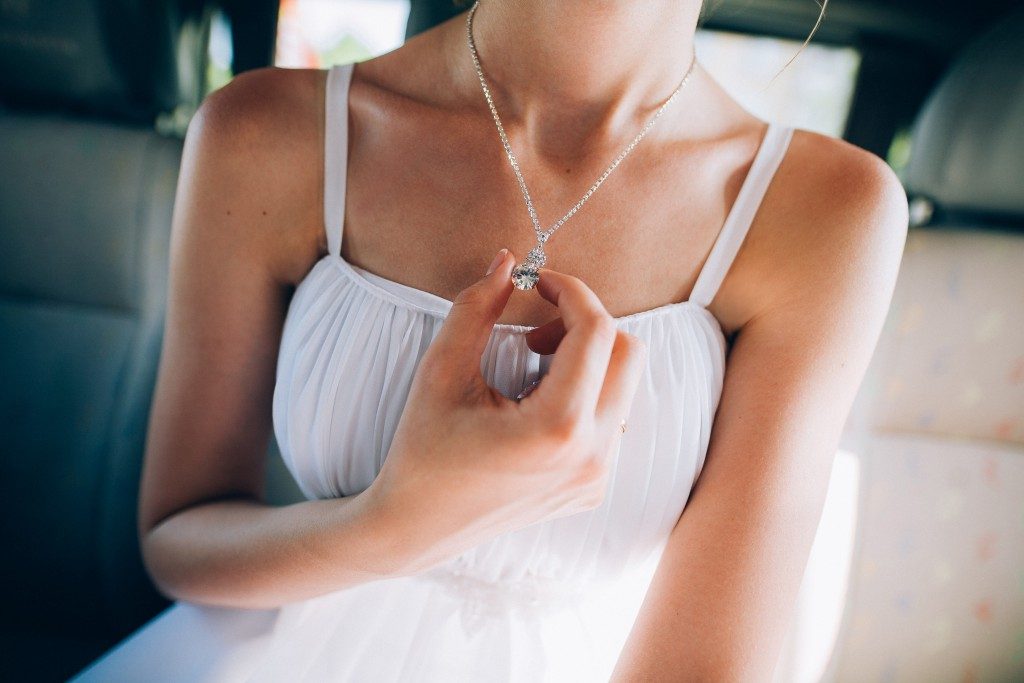

There are unique challenges that come with photographing necklaces, watches, and rings. They are usually reflective and require high magnification. While you will likely still need to employ jewelry photo retouching services, it’s best your initial shots employ good lighting techniques and capture sharp images of the pieces.
Planning and Preparation
The very first thing you need to do when you decide to photograph jewellery is to determine a background. What will enhance your piece? Consider factors like colour, textures, and shape, and determine how they work with the styling and overall look of your photo.
For instance, you may want to include juxtaposing textures between a necklace and its background. Because of the necklace’s textured nature, the photo may benefit from a smoother and simpler tile background.
Of course, you need to clean the pieces of jewellery before taking your shots.
Lighting Setup
When taking photographs of jewellery, you can shine a bare bulb light through a sheet of acrylic behind the piece. The acrylic acts to diffuse the light, so it produces soft, gradient lighting. Then, experiment with light placement. What happens when you move the light closer or further away from jewellery?
Consider using more lights, as this can add more sparkle and shine to the piece. For example, your second lighting piece can be small, but provide sparkle. A picolite with a projection attachment can bring the colour out of pieces if they are focused directly on the gemstone.
With pieces that feature smooth and shiny surfaces, you can create a light tent with the use of reflector cards.
Photographing jewellery can be a simple process if planning and operation is carried out well. It’s a lot to do with your surface, background, props, and knowing how to make the features of a piece jump out.
Diamond Rings
How do you go about photographing diamond rings? You need to ensure you’re minimising all reflections on the surface. But their naturally curved and shiny surfaces mean they will reflect everything, including the base surface and background.
Try making a conical shaped light tend that covers the rings but still ensures the light can shine through. Use several sources of light to capture this image.
Focus Stacking
Pay attention to depth of field next. It can be difficult to achieve sharp images because of the size of the rings and the distance you’re working with. You may want to try focus stacking. This refers to the process of taking several photographs from different points of focus. You can then blend these photos together into a single image, so the entire subject is in focus. To do this, your camera has to be locked down and unmoveable. You take a series of images while gradually shifting from the different points.
Post Production

Most shots will require some level of cleaning during the post-production process. This includes colour enhancement and the removal of dust and scratches. You may need to do some composite work, finishing touches, and work on bringing the focus stack together. But if you’re able to get the lighting and composition setup done well, you’ll likely spend a reduced amount of time with post-production work. Well-planned and well-executed lighting and technique can allow you to get good shots of your jewellery.